Supplies needed for making candlewicks:
- Cotton thread
- Borax
- Water
- Salt
- Wax and something to safely melt it in.
- Wax paper
- Small bowl of cold water.
Cut your cotton thread the length you want your candles plus 2’’. I decided to dip both ends of the rope at once to make more candles at once so I cut my thread to 18’’. Each candle wick will need 3 pieces of thread so if you want to make 5 candles times that by 3 and cut 15 pieces of thread all measuring the same length.
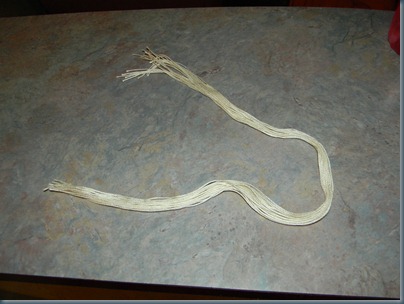
Mix 1 TBS salt, 2 TBS boric acid and 1 cup.all of the borax may not dissolve so don’t sweat it. Add in your thread and stir gently a few times, try not to tangle your thread.
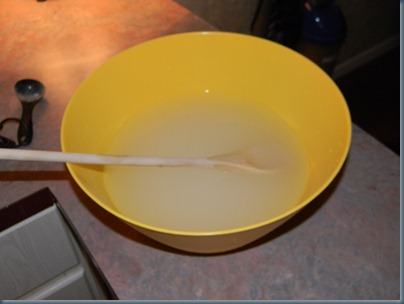
Now walk away from it and let it sit for 12 hours.
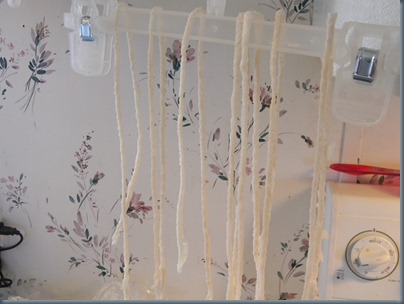
When time is up, have something ready to hang your candlewicks up to dry on. I used a coat hanger so I could move the wicks somewhere out of the way once they stopped dripping.
Gently remove them and hang them up immediately, try not to disturb all the crystals on them as you move them around.
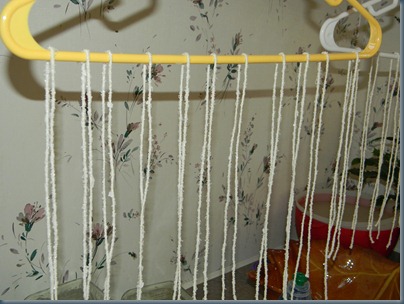
Let them dry for 4-5 hours, the longer the better.
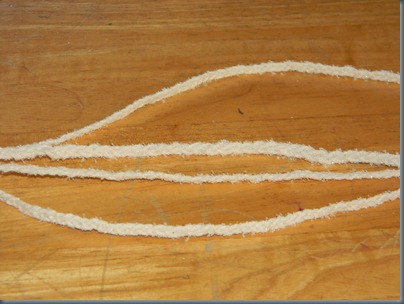
Then take 3 strands and braid them, tightly, together just like you would someone’s hair.
Here’s a few of mine all braided up.
Almost finished. Time to prime the wicks. Melt some wax, soy or beeswax, whatever you’re going to make candles out of really, over a double boiler.
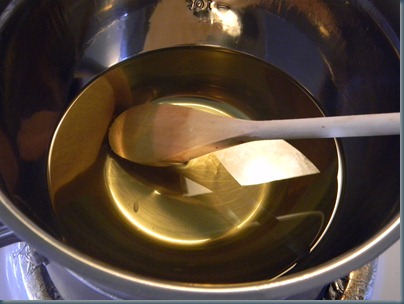
Lay out some wax paper, and grab a few sheets of paper towel as well a small bowl of cold water.
Dunk one wick into the hot wax at a time, wait for bubbles to release (I had a few wicks that released bubbles almost as soon as they hit the wax and a few others that took a little longer) See some bubbles below?
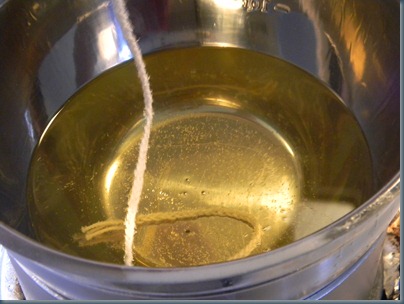
You can use a paper clip on one end of the wick to save your fingers from getting burned accidentally or if you’re making double candles like I am just pinch the middle of the strand and dunk carefully.
When bubbles start to pop this means the wick is saturated with the wax and you can remove it and immediately dunk it in the cold water.
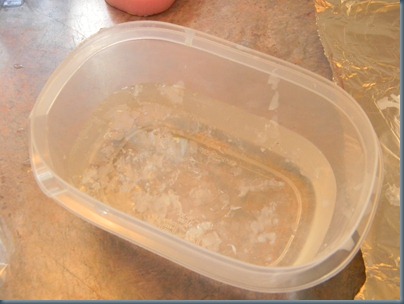
Dunk for just a second or two, take both ends of the wick and stretch the strand out tight before laying on the wax paper. (I didn’t have wax paper, so please ignore the aluminum foil under my wicks)
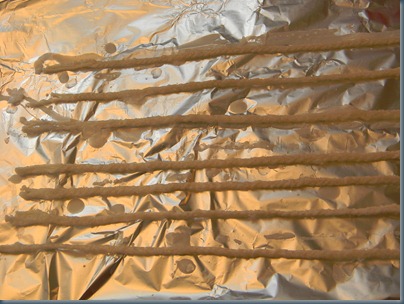
Blot any excess moisture off the wicks with the paper towel and move on to the next wick.
Once finished with all the wicks you can repeat the wax and water dunk a few more times if you feel like the first dunk didn’t cover enough or if you want a stiffer wick. Give the wicks enough time to dry in between dunks or else you just end up melting the wax already on the thread.
Now you’re ready to turn the wicks into taper candles or use them in jar candles as well.
I started on taper candles but ran out of time and had to put it aside for another day.
~Jess
No comments:
Post a Comment